 |
| Russian advanced guard spot elements of the French 2nd Division moving up to attack. |
This review will focus various game play and mechanisms rather than on the rule book itself. There are a number of good rules reviews available:
I’d also suggest those interested in ESR watch the Tabletop Simulator replay of a game by The Armchair Dragoons featuring the rules author, David Ensteness. It pushes 3 1/2 hours but I found it helped me better understand the rules.
Overview
I invited my friend Brian to play since he has an interest in ESR as well. We agreed to have a learning game where we would be more flexible with our decisions and walk things back if needed. Since I have all the troops painted I built two opposing forces - French and Russians in 1813. The French Corps had two French infantry divisions, a Polish infantry division, a light cavalry brigade and an attached Cuirassier brigade. The Russian corps had a mixed advanced guard, two infantry divisions and an attached Cuirassier brigade as well. A road network allowed each side to come in on three separate roads and converged in a village in the middle of the table. This village was the objective for both sides.
Perspective
As the rules indicate, ESR is a perspective based game. Players take on the role as the Army or Corps commander and the units you command are divisions, brigades and corps assets. As the Russian commander, I wasn't concerned about if my battalions were in column or line, or if skirmishers were deployed or not. At my level, I'm assuming my subordinates are dealing with those details. I'm more concerned when and where to deploy my divisions, when to commit my artillery, do I have a reserve (I didn’t) and when to order my formations to attack. This is a slight similarity to the level of command in Brigade Fire & Fury or Bloody Big Battles.
As the rules indicate, ESR is a perspective based game. Players take on the role as the Army or Corps commander and the units you command are divisions, brigades and corps assets. As the Russian commander, I wasn't concerned about if my battalions were in column or line, or if skirmishers were deployed or not. At my level, I'm assuming my subordinates are dealing with those details. I'm more concerned when and where to deploy my divisions, when to commit my artillery, do I have a reserve (I didn’t) and when to order my formations to attack. This is a slight similarity to the level of command in Brigade Fire & Fury or Bloody Big Battles.
 |
| French Order of Battle |
 |
| Russian Order of Battle |
Friction
I enjoy games which build in a level of friction for the player to manage (or not). In ESR, that friction is represented by "Fatigue". As formations fight, they accumulate fatigue which represents casualties and a general breakdown in control. When a formation has little or no fatigue it's easy to do things like change orders, deploy artillery and fight effectively. Once they start to accumulate fatigue, formations won't fight effectively. For example, due to a poor assessment following combat, a Russian battery had to retire to the reformation area. To commit it back to the battle required a leader action roll (success on a modified 7 using 2D6) which was now down five because of the accumulated fatigue against that division. Needless to say I missed the success by 1 point.
Orders
Since our forces were coming from off board, we agreed to start the game on Move orders. In the turn sequence activating orders comes before issuing orders so we’re not sure we did the first turn order phase correctly. You basically issue orders a turn in advance so it makes you think one or two turns ahead. I liked that orders are persistent and you don’t have to re-roll each turn. You can also convert automatically depending on formation type and circumstance. For example, at the beginning of one Movement phase, the French Cuirassiers automatically converted to Attack and unsuccessfully launched an attack against the Russian Cuirassiers.
Combat
There are two fighting phases in ESR - Artillery & Skirmish and Combat. The former represents long range and skirmish infantry fire while the Combat phase represents the close range shooting and melee. The mechanism is very simple. In Artillery & Skirmish, you add up points based on the artillery type, infantry type and training of all stands in a formation within range of the enemy then add that to 2D6. If you score above a "10" you cause an assessment (think morale test) against the enemy formation and for each multiple of 10 results in a -1 to the target formation's assessment. I think the highest modified die roll we got against each other was a "47", but in most cases we were adding 10 - 15 points to a 2D6 roll.
Combat (i.e. close combat) is when two opposing units are in base to base contact. Again, there are modifiers based on the Combat Rating and other characteristics of the unit as well as the Tactical Rating of the formation commander. This is basically how well the Division commander can influence individual combats. Results vary based on the difference in the two side's dice rolls but more than likely one side will retire and BOTH sides will accumulate some fatigue.
We found the combat mechanisms to be very easy to understand - there really aren't that many modifiers and after the first or second round of combat we knew the factors without looking at the chart.
Lessons Learned
Combat
There are two fighting phases in ESR - Artillery & Skirmish and Combat. The former represents long range and skirmish infantry fire while the Combat phase represents the close range shooting and melee. The mechanism is very simple. In Artillery & Skirmish, you add up points based on the artillery type, infantry type and training of all stands in a formation within range of the enemy then add that to 2D6. If you score above a "10" you cause an assessment (think morale test) against the enemy formation and for each multiple of 10 results in a -1 to the target formation's assessment. I think the highest modified die roll we got against each other was a "47", but in most cases we were adding 10 - 15 points to a 2D6 roll.
 |
| French and Russian infantry divisions engage in ranged combat |
Combat (i.e. close combat) is when two opposing units are in base to base contact. Again, there are modifiers based on the Combat Rating and other characteristics of the unit as well as the Tactical Rating of the formation commander. This is basically how well the Division commander can influence individual combats. Results vary based on the difference in the two side's dice rolls but more than likely one side will retire and BOTH sides will accumulate some fatigue.
 |
| Combat results. Many Russian units retreat to the reformation area and the division has taken 20 fatigue points, breaking the formation. |
We found the combat mechanisms to be very easy to understand - there really aren't that many modifiers and after the first or second round of combat we knew the factors without looking at the chart.
Lessons Learned
Cavalry are a one shot weapon - and that’s not bad. Brian charged with the French Cuirassier and Light Cavalry units to see how cavalry attacks work. Both attacks resulted in the French cavalry brigades fleeing the field. At first I thought charging against fresh enemy troops was a bad idea, and normally it would be, but in this case it actually worked to his ultimate advantage. It left the Russian Cuirassier with five fatigue points, one away from retreating, and it added fatigue to the Russian advance guard, wearing them down for the infantry to finish them off. The Russian Cuirassier’s would not be a factor for the rest of the game.
 |
Commit your artillery early and get them close to the action. In the assessment phase of the turn, you get a positive modifier for every battery in the formation or close by and likewise there is a negative modifier for each enemy battery in close range. When my artillery battery retired due to an assessment it put my infantry division at a disadvantage not only in shooting but in subsequent assessments.
The larger your formation the earlier you want to begin deploying. For example, it took me three turns to deploy the 14 battalions of the Russian 2nd Division had 14 battalions. I actually like the ploy/deploy mechanism as it makes the player think about the time it takes to get a division in a state to fight. Since deploying a large formation is not automatic, I had to deploy further back from the enemy to secure the division from possibly being engaged in mid deployment.
 |
| French infantry division deploying into supported lines |
Overall Assessment
In the end, the French defeated the Russians by breaking the 1st division and causing the advanced guard to retreat. We completed six turns and reached a conclusion in about 4 1/2 hours of playing time.
I have a very positive feel for the rules. At first the rule book may seem daunting, coming in at 168 pages but most of it is army building information. The actual rules are probably no more than 15-20 pages not including the vast number of examples. We only referenced the rules twice - once to understand the requirements for the Fatigue Recovery step and another time to see how far back a unit retreats. As I said before, the mechanisms are actually very simple and maybe that’s what makes them unique.
I look forward to my next game!
And now, more pix of the game
 |
| Overview of the battlefield |
 |
| Russian Cuirassier |
 |
| Russian Advanced Guard |
 |
| French and Russians about to clash. Poles in reserve in the back |

 |
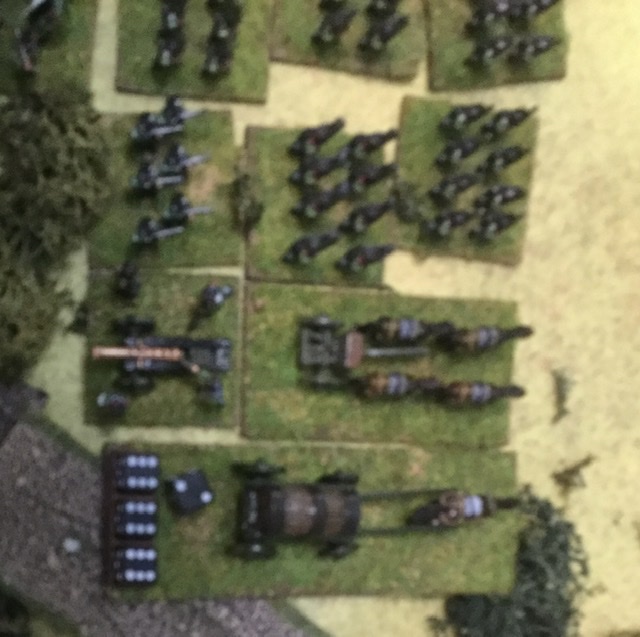
| Close up of the action |

No comments:
Post a Comment