
 |
| The Battlefield |
Background
Emperor Napoleon ordered Marshal Davout to cross the Danube with his III Corps and secure a bridgehead before the Austrian army under Archduke Charles could consolidate his widely dispersed Korps and push back the French army before the campaign was even a week old. Lefebvre's VII Corps were also ordered to provide support on Davout's right. Napoleon even released Nansouty's 1st Cuirassier Division to counter the Austrian heavy cavalry known to be in the area.
Davout began the crossing ten miles upstream from Ratisbon the night of March 12th but it would take most of the next morning to get his two divisions and supporting cavalry across. Lefebvre's corps was still marching to the Danube on the 12th and would not begin crossing until the morning. By the middle of the day on the 13th, Davout faced the choice of pushing ahead to secure more defensible ground or wait until the VII Corps had crossed. The decision would be made for him.
Archduke Charles spent the previous week wondering where the French would cross the Danube. His plan was to spread out his corps and consolidate once the main crossing was identified. Around midnight on March 13th, he first got word that a detachment from his own 2nd Grenzers had been pushed back by a company of French legere. Throughout the night more reports came in of small engagements along the Danube. It wasn't until close to dawn that he received confirmation that a full corps and possibly more were crossing the river. He ordered his closest formation, General Kolowrat's II Korps, to hold the heights to the east of the what was known as the three sisters - the villages of Linkendorf, Mittlestadt and Richtigesdorf. He also ordered Field Marshal Hohenzollern to support but his widely dispersed corps was almost a day's march away.
Prelude
Kolowrat quickly ordered his avant garde as well as Brady's and von Treunfels' divisons to occupy the heights and villages until his other two formations could come to support. The avant garde occupied Mittlestadt with Brady's division of six infantry battalions and six squadrons of dragoons taking up the right flank on the heights and von Treunfels' division of six infantry battalions holding the left flank. His plan was to hold the heights until reinforcements could arrive.
The French 8th Hussars reconnoitered the area ahead of the III Corps and reported back to Davout that the Austrians were beginning to set up positions along the heights. Deciding not to wait for the VII Corps and their nineteen battalions, he pushed forward his two divisions with the light cavalry in the lead. Friant's 2nd Division would attack toward Mittlestadt while St. Hilaire's 4th Division would support on the right.
The Battle
 |
| The Austrian initial set up |
Montbrun's Light Cavalry Division pushed forward and deployed to prevent the Austrian from moving forward and disrupting the 2nd Division's deployment.
 |
| Montbrun's Light Cavalry Division of two hussar and three Chasseur squadrons |
 |
| Friant's Division begins to deploy |
The 4th Division began deploying on the French right but soon the urgency of the overall French attack was soon apparent as the Austrian reinforcements began arriving on the flanks of the heights. Vescey's mixed brigade of jagers, infantry and hussars moved up on the right and began to occupy Richtigesdorf while Lindenau's division of nine infantry battalions advanced on the left to face off against the 4th Division.
 |
| Austrian reinforcements arrive before the French can begin their assault |
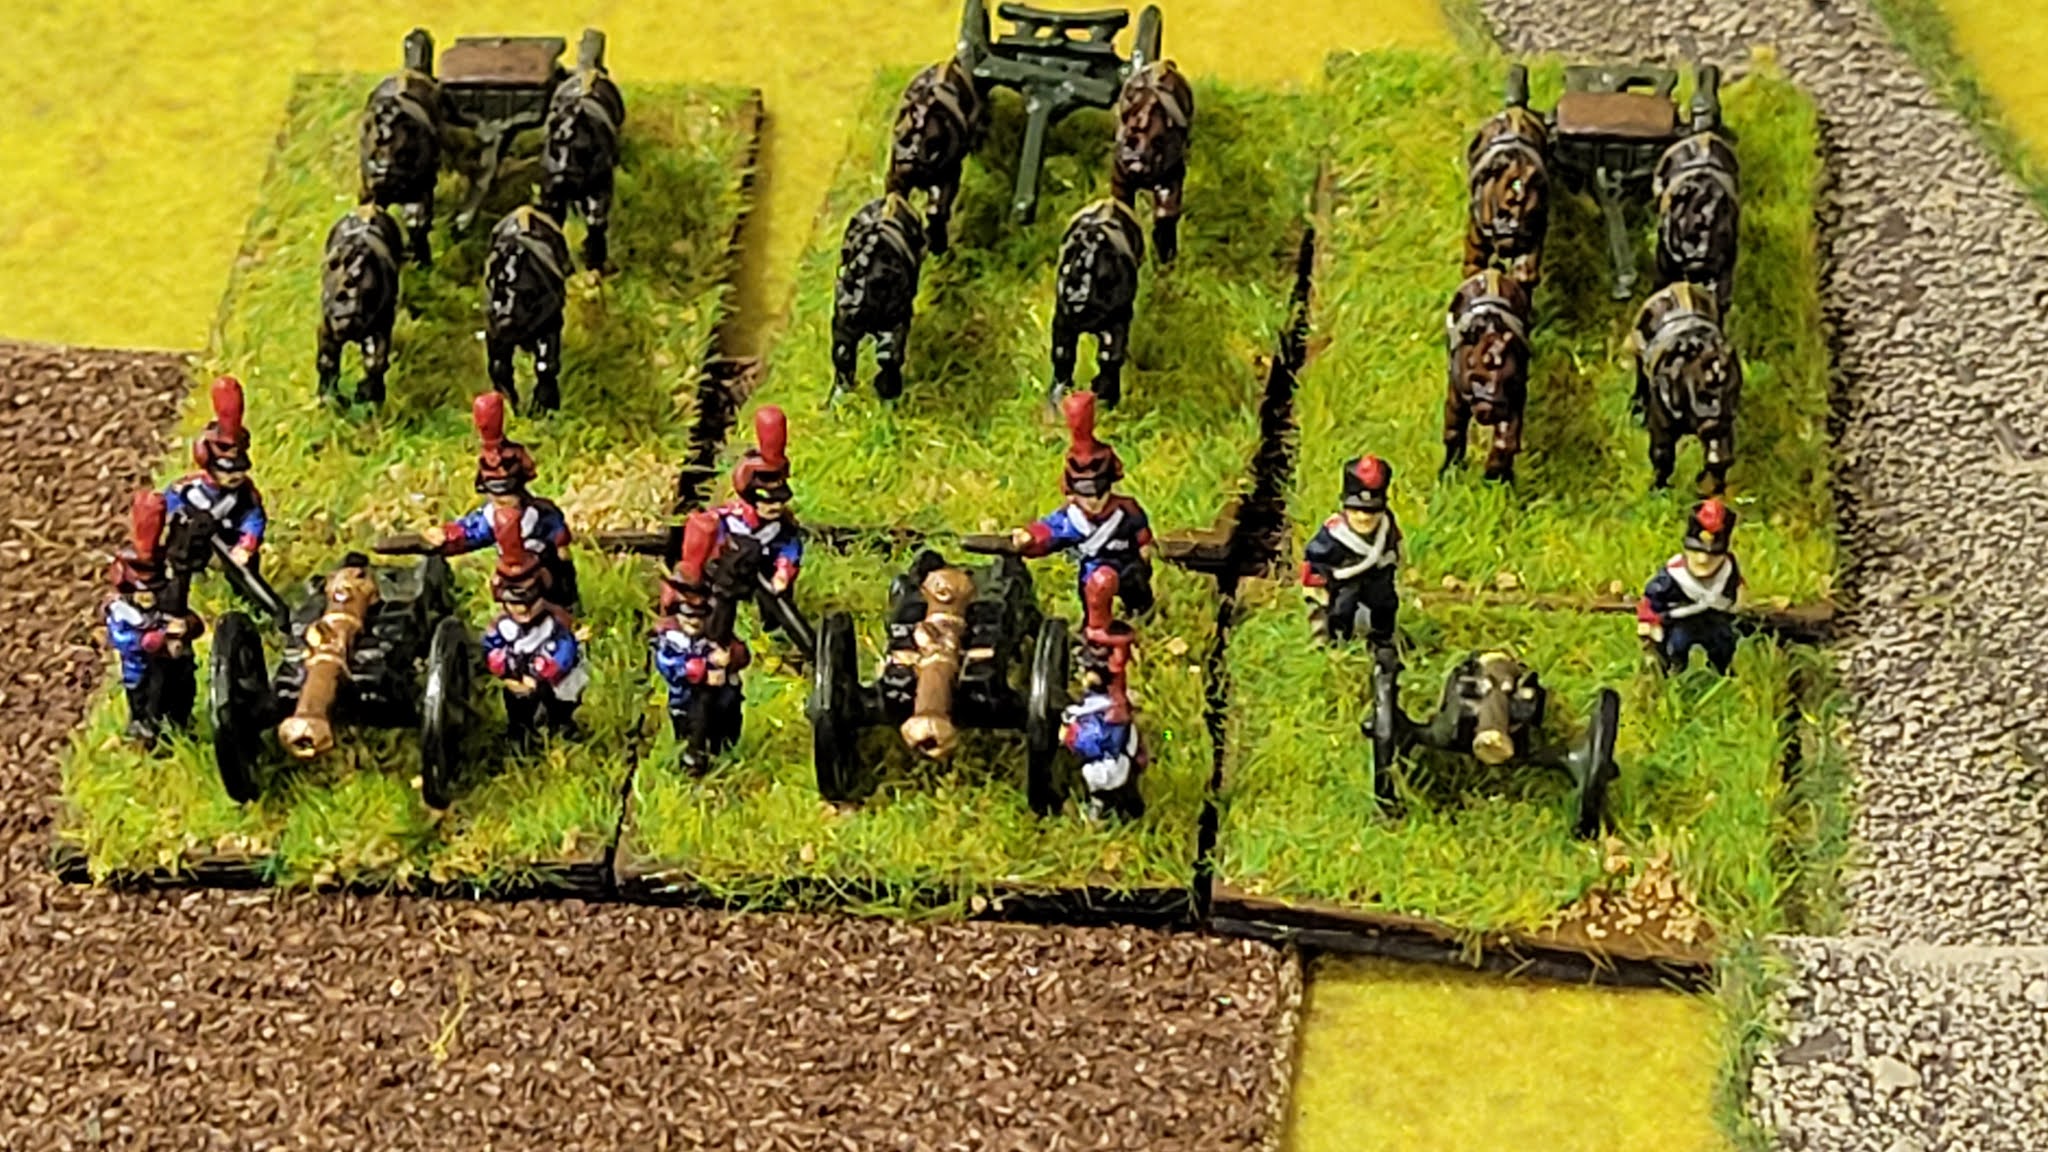
By two in the afternoon, the Davout was ready and ordered attack on the heights. In the center, Friant deployed his twenty guns in front of Mittlestadt to suppress the grenzers holding the village while his fifteen battalions moved to push the hussar and artillery out of the way.
 |
| French artillery in the center |
 |
| The weight of the French 2nd Division falls upon the Austrian avant garde while Brady's infantry battalions wait in defense |
Meanwhile, the light cavalry challenged the the Austrian 5th Hussars on the French left flank near Richtigesdorf. Confident his five squadrons could push back the two Austrian squadrons, Montbrun led a headlong charge with the 8th Hussars in the lead and the 16th Chasseurs in support. The Austrians pushed back the first assault only to be repulsed by the supporting chasseurs. Montbrun launched a second assault which had limited success before their losses became too much and his division broke. Nansouty's 1st Cuirassier Division was within supporting distance but opted to remain in reserve until the outcome of the fight was determined.
 |
| Clash of the French (right) and Austrian (left) light cavalry |
 |
| French Cuirassiers and Carabiniers in reserve |
 |
| St. Hilaire's division begins their attack |
 |
| The French attack falter's after St. Hilaire's mortal would but Lindenau falls back to regroup |
Without St. Hilaire's leadership, the French attack slowed allowing Lindenau to retreat about a half mile and begin reorganizing his fatigued divison. Around three o'clock, Kolowrat left his vantage point in the windmill and sought to halt Lindenau's retreat. The French skirmishers kept pushing back Lindenau's line despite Kolowrat's intervention.
 |
| Kolowrat fails to steady Lindenau's division |
Back on the French left flank, Nansouty ordered his cuirassier and carabiners to clear out the Austrian hussars. Knowing his two fatigued hussar squadrons would not be evenly matched against the six heavy French squadrons, the commander of the 5th Hussars decided to fall back despite Vescey's orders and leave the 21st Infantry to counter the heavies. Thinking the hussars would protect them, the 21st Infantry did not have time to form square against the cuirassiers. Their musket fire failed to slow down the cuirassiers and Vescey's command soon broke. The Austrian hussars fled the field, the 21st was routed and the jagers abandoned Richtigesdorf. The Austrian right flank collapsed.
 |
| 2nd Cuirassiers slam into the 21st Infantry |
The Austrians now only had Brady's and von Treunfel's small divisions in reserve. With Kolowrat occupied trying to steady the left flank, Brady decided to commit the 1st and 6th Dragoons against the 1st Cuirassier division and his six infantry battalions against Friant's division which was now coming up the hill. Even though the French infantry were tired they still had a few fresh battalions in reserve. The 2nd Division met the Austrian infantry coming down the slopes. Friant rushed a battery to fire into the flank of the Austrians taking out scores of infantry. Skirmishers picked out officers to cause confusin on the ranks. In the end, the 2nd Division overwhelmed the Austrian reserves and sent them fleeing back toward the windmill. Only Kolowrat wasn't there to rally them.
The dragoons performed no better. Nansouty quickly reorganized his squadrons and met the dragoons head on. The cuirassiers' sabers quickly dispatched the dragoons. The lead troopers of the 1st dragoons bore the brunt of the attack and squadrons simply disappeared. The 6th Dragoons, seeing what happened to the 1st fled before the carabiniers' lances could reach them.
 |
| The 1st and 6th Dragoons slam into the cuirassiers as the infantry engage the French 2nd Division |
 |
| The French 2nd Division takes the heights unopposed |
 |
| The Austrians are broken and fleeing the field |
Thanks very much for putting this up, I enjoyed the read. Glad your first experience was so positive after all of that painting :-)
ReplyDeleteThanks. I just counted yesterday and I painted about 2000 figures in just over a year.
DeleteWhat a report! Beautiful work.
ReplyDelete